Cleaning Your Hearing Aids: A Guide
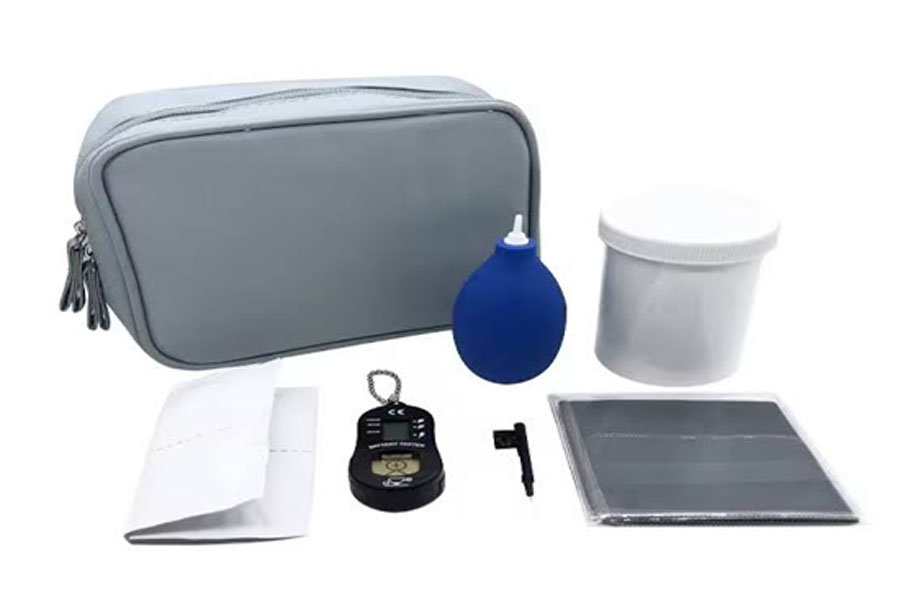
Essential Hearing Aid Cleaning Tools. Source: Xiamen Hi Hearing Technology Company Limited
Think about everything your hearing aids have to go through on a daily basis. They spend hours nestled inside your ear canal, exposed to a constant barrage of body heat, moisture, and earwax. Over time, that buildup doesn't just look unpleasant; it actively blocks sound ports, muffles microphones, and can even cause the internal electronics to fail.
Regular maintenance ensures your hearing aid functions optimally. By dedicating just a few minutes each day to maintenance, you can protect your device, prevent sudden malfunctions, and keep your world sounding perfectly sharp.
Your Cleaning Toolkit
Before you start, you need the right tools. Using the wrong items; like sewing needles or harsh chemicals, can permanently damage the delicate components of your hearing device. The kit must include: -.
- A Soft, Dry Cloth: A microfiber cloth works best to wipe away oils and debris without scratching the surface.
- A Hearing Aid Brush: A microfiber cloth works best to wipe away oils and debris without scratching the surface.
- A Wax Pick or Loop: A specialized, blunt tool designed to safely hook and pull stubborn wax out of tiny openings.
- A Bulb Blower: Used primarily for behind-the-ear models to blow moisture out of the tubing.
The Golden Rule:Never, under any circumstances, use water, rubbing alcohol, or liquid cleaners directly on the body of your hearing aid. Moisture is the number one enemy of electronic hearing devices.
Step-by-Step Cleaning: The Nightly Routine
Establishing a routine at night is ideal. It gives any residual moisture a chance to dry out completely overnight before you wear the device next morning.
1. Prep Your Workspace - Safety First
Wash and dry your hands thoroughly. Work over a soft surface, like a folded towel on a table. Hearing aids are small and slippery; dropping them onto a hard counter or floor can crack the casing.
2. Wipe the Body - Remove Surface Oils
Take your soft, dry microfiber cloth and gently wipe down the entire outer surface of the hearing aid. This removes the film of sweat, skin oils, and loose wax picked up throughout the day.
3. Brush the Ports - Face Down to Let Gravity Help
Hold the hearing aid upside down so that the openings face the floor. Use your cleaning brush to gently sweep the microphone inlets and receiver ports. Tilting it downward ensures that any dislodged wax falls out of the device rather than getting lodged deeper into it.
4. Clear Stubborn Wax - Use a Delicate Touch
If you see wax jammed inside the speaker tip or vent holes, use your wax pick or loop to carefully scoop it out. Don’t push the tool deep into the openings, or you risk puncturing delicate acoustic filters underneath the device.
5. Open the Battery Door - Air It Out
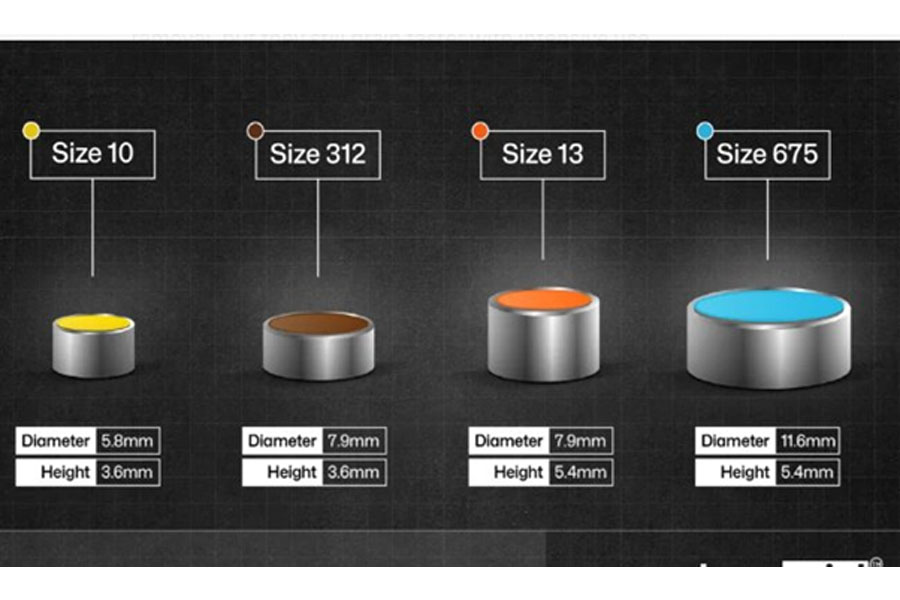
If your device uses traditional disposable batteries, open the battery compartment door completely and turn the device off. This helps preserve battery life, and allows fresh air to circulate through the compartment, drying out internal moisture. For rechargeable models, simply wipe the charging contacts and place them in their dock.
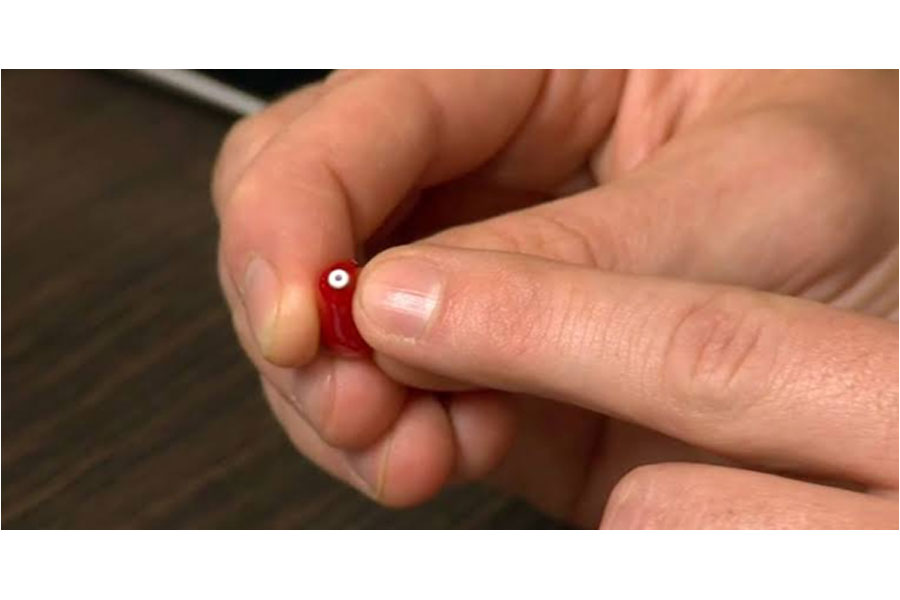
Locating and checking the wax guard. Source: North Shore Hearing, P.C
Cleaning by Style: ITE vs. BTE
Different shapes require slightly different care. Depending on whether your device sits entirely in your ear or behind it, keep these specific tips in mind: -
Inside-the-Ear (ITE) Models
Because the entire device sits directly inside the ear canal, these models are highly susceptible to wax clogging. Focus heavily on the wax guard (the tiny white filter on the tip). Inspect it nightly. If it looks completely yellow or blocked, use your manufacturer-approved replacement kit to pop the old filter out and click a fresh one in.
Behind-the-Ear (BTE) Models
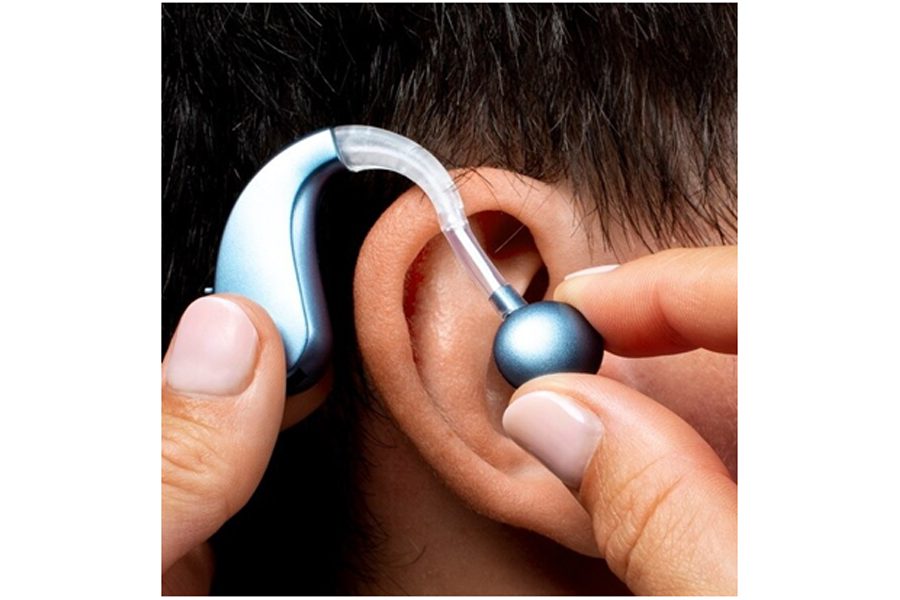
BTE devices feature a hard plastic piece or soft rubber dome that sits in your ear, connected to the main body by a thin plastic tube.
- The Dome/Earmold: You can slide the soft silicone dome or plastic earmold entirely off the plastic tubing. Because this piece contains zero electronics, you can wash it thoroughly with warm, soapy water.
- • The Tubing: If you notice condensation inside the clear tube, disconnect it from the electronic body and use a bulb blower to push air through the line until it is bone dry. Let the washed pieces dry completely overnight before reassembling them.
3 Essential Habits for Longevity of Hearing Aids
Cleaning is only half the battle. Good daily habits prevent dirt from accumulating in the first place.
- 1. Apply Products First: - Put on your hairspray, cologne, perfume, and face lotions before putting in your hearing aids. The fine mist from sprays can coat the microphone ports, drying into a hard shell that ruins sound quality.
- 2. Avoid the Bathroom: - Don't leave your hearing aids on the bathroom counter while you shower. The high humidity from a steamy bathroom can slowly corrode internal wires, even if the devices don't get directly wet. Always store them in a dry bedroom.
- 3. Consider a Dehumidifier: - If you live in a humid climate, sweat heavily, or struggle with moisture errors, better invest in a hearing aid dehumidifier (or "dry aid kit"). Dropping your devices into a drying jar or an electronic UV drying box overnight pulls out deep-seated moisture and sanitizes its surfaces.
Regular maintenance can keep your connection to the world uninterrupted. If you clean your devices thoroughly and still notice muffled sound, weak volume, or static, don't try to dismantle the casing yourself; better bring them to your audiologist, who has specialized vacuum tools to safely clear deep internal clogs.
The "Deep Clean" Schedule
While a daily wipe-down is essential, better to know how often to do deeper maintenance tasks. Adding a simple breakdown helps to pace their care.
- Daily: - Wipe hearing aid with a dry cloth, brush the ports, and open the battery door at night.
- Weekly: - Thoroughly check the receiver tips for wax buildup. Clean BTE earmolds and domes with warm, soapy water and ensure they dry completely in the next 12 to 24 hours before reattaching them.
- Monthly: - Replace the wax guards (filters) or sooner if the sound becomes weak or muffled.
Troubleshooting: Did You Clean It or Is It Broken?
Sometimes a user cleans their hearing aid, puts it back in, and gets zero sound. Troubleshooting OR quick fix solutions can help address such situations.
| Issue | Potential Cause | Quick Fix |
|---|---|---|
| Dead / No Sound | Completely clogged wax guard | Replace wax guard entirely. |
| Weak / Muffled Sound | Debris in microphone port | Hold device upside down and brush mic ports again. |
| Whistling / Feedback | Poor fit or wax blockage in ear canal | Clear the receiver tip. If it persists, consult an audiologist to check for earwax build-up in your ear canal. |
| Intermittent Sound | Moisture in the tubing or battery compartment | Place the device in a dehumidifier or drying cup for a few hours. |
Don't Forget to Clean Your Ears!
It sounds obvious, but you can clean your devices perfectly, and they will still get clogged instantly, if your ears are full of wax. So always clean your ear.
AudiZone Speech & Hearing Clinic with its pan India presence through 16 branches and a team of over 100 highly qualified audiologists has till date successfully treated over 1 lakhs patient’s including kids and adults for hearing and speech related issues. AudiZone provides various types of branded hearing aids such as Signia, Phonak, Widex, ReSound, Starkey, and Oticon to patients based on their preference and requirement.